

Top Highlights
Key Points in the Article (3rd Person):
The article explains that formatting a drive is essential not only for wiping data but also for optimizing and preparing the storage device for use. It emphasizes that even brand-new drives should be formatted to match specific needs, especially considering different file system formats like NTFS, exFAT, and FAT32. The process for formatting a USB drive on Windows is straightforward, involving selecting the appropriate format and labeling, with guidelines on choosing the right file system based on device compatibility and file size needs.
Highlights in 4 Concise Statements:
- Formatting clears data, repairs issues, and prepares drives for reliable use, even when new.
- NTFS is ideal for Windows-only use, while exFAT offers broad compatibility for cross-platform needs, and FAT32 suits very old devices but has significant limitations.
- Proper formatting involves selecting the correct file system, allocating cluster size based on file types, and labeling the drive before confirming.
- Regularly formatting your USB ensures data security, removes hidden malware, and maintains drive performance and stability.
Understanding Why Formatting Matters
Knowing how to format a USB drive is an essential skill for any computer user. Many believe formatting is only necessary when clearing a drive full of unwanted files. However, that’s not entirely true. Formatting resets your drive to a clean state, removes hidden malware, and repairs potential errors. It also overwrites sectors so data can’t be recovered, which enhances security. Whether your drive is corrupted or just not working properly, formatting can fix these issues.
Additionally, even new drives benefit from formatting before use. Factory settings often come with a compatible but outdated system called FAT32. While FAT32 works with many devices, it can only handle files smaller than 4GB. This limitation makes it less suitable for modern use. Formatting your new drive with a more advanced system like exFAT or NTFS provides better performance, larger file support, and improved stability.
Knowing when and why to format helps you get the most out of your storage devices. It keeps data safe, ensures compatibility, and enhances performance. Plus, it’s a simple process that protects your devices and simplifies your digital life.
Choosing the Right Storage Format
When it comes to formatting your USB drive, selecting the proper file system is crucial. For Windows-only use, NTFS is the best choice. It supports larger files, partitioning, encryption, and more. However, remember that NTFS isn’t ideal for devices outside Windows, such as Macs or Android phones.
If you plan to share data across different devices, exFAT is your best bet. This format offers large file support—over 4GB—which makes it perfect for storing high-definition videos, large archives, or backing up Android devices. Although it doesn’t have all the advanced features of NTFS, it balances compatibility and capacity.
FAT32, the older standard, still has some uses. It works with almost all devices with a USB port, including older car stereos and printers. However, FAT32 cannot handle files larger than 4GB and is more prone to fragmentation. Plus, Windows 11 may not support formatting drives with FAT32 for large capacities. For most modern purposes, FAT32 no longer offers the performance needed.
Understanding these formats helps you choose the best one for your needs. Whether optimizing for security, compatibility, or capacity, picking the right format ensures your USB drive works smoothly across all your devices.
How to Format a USB Drive on Windows
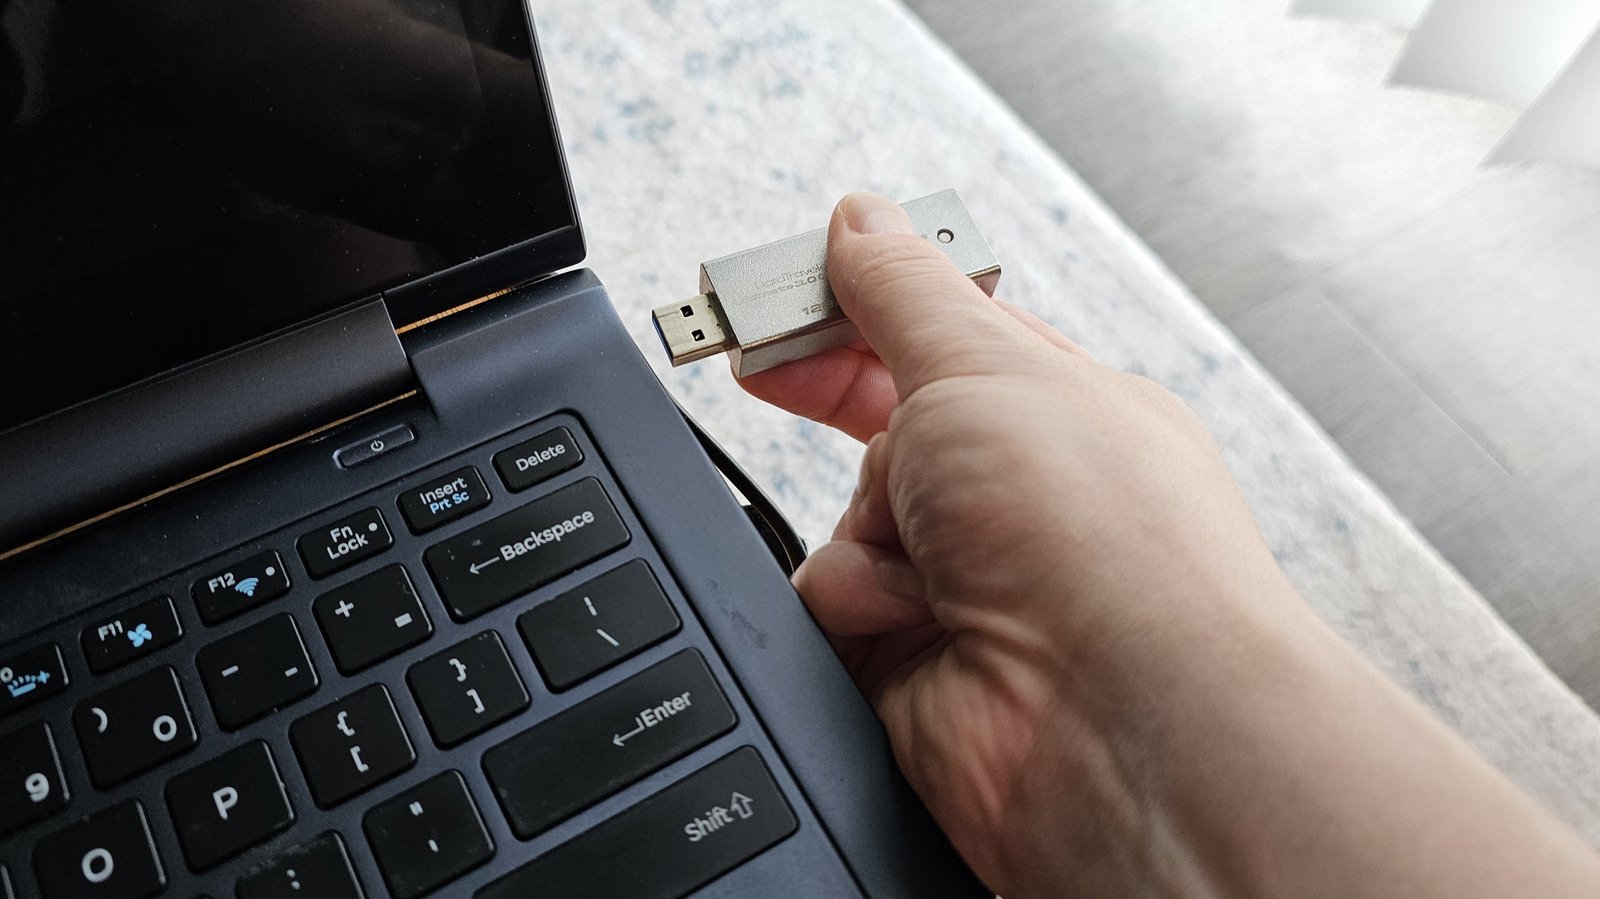
Formatting a USB drive on Windows is straightforward. First, plug your drive into a high-speed USB port. Then, open Windows Explorer. Click “This PC” on the left navigation panel. Find your drive in the list. Right-click the drive and select “Format.”
Make sure you select the correct drive. Close any files or programs that might be using it. In the format window, choose the file system based on your needs: NTFS for Windows-only, or exFAT for cross-platform use.
Next, decide on the allocation size. For most users, leaving it at the default works fine. If you’re storing only large files, pick a higher value. For many small files, choose a lower value. Next, you can give the drive a name under “Volume Label.”
Finally, click “Format” and confirm. The process takes a few seconds to several minutes, depending on the drive size. Once it finishes, a message will confirm completion. Now, you have a clean, ready-to-use USB drive.
Formatting properly ensures your drive functions reliably and efficiently. Taking these simple steps helps maintain your storage devices for years to come, whether you use Windows, Mac, or other systems.
Discover More Technology Insights
Stay informed on the revolutionary breakthroughs in Quantum Computing research.
Explore past and present digital transformations on the Internet Archive.
CellphonesV1
